Introduction to Healthy Homemade Butterfingers
Why choose homemade over store-bought?
When it comes to satisfying our sweet tooth, opting for homemade treats has never been more appealing. Store-bought candies often come loaded with artificial ingredients, preservatives, and excess sugars that can hurt our health over time. By creating your own healthy homemade Butterfingers, you gain full control over what goes into your confection. You can swap refined sugars for natural sweeteners, use healthier fats, and even play around with proportions to suit your taste. It’s not just about health; it’s also about quality. Fresh ingredients often result in a richer, more satisfying flavor that store-bought versions just can’t match.
Did you know that many commercial candies contain high-fructose corn syrup, a sweetener associated with various health risks? By making your treats at home, you can avoid such unwanted additives and make choices aligned with your wellness goals.
The joy of creating a healthier dessert
There’s something immensely satisfying about crafting a beloved dessert from scratch. Making healthy homemade Butterfingers isn’t just a way to indulge in something sweet; it’s an opportunity to channel your creativity in the kitchen. Whether you’re experimenting with flavors or trying out different nut butters, the process can be both fun and therapeutic.
Consider gathering some friends for a delightful baking session. Not only will you all enjoy indulging in these healthier treats together, but you’ll also bond over the shared experience of creating something new. You might even discover variations that become new favorites!
As you dive into this recipe, you’ll also have the added benefit of knowing exactly what you’re consuming. For instance, instead of using regular chocolate, why not try dark chocolate? It’s packed with antioxidants and has been linked to numerous health benefits. Plus, its rich flavor will complement the creamy filling beautifully.
With every bite, you can savor the knowledge that you’ve crafted a healthier alternative to a classic candy. Isn’t that a sweet thought? So, let’s roll up our sleeves and get ready to whip up some delicious healthy homemade Butterfingers. Your taste buds—and your body—will thank you!
For more inspiration on health-focused cooking, check out resources like the American Heart Association and Nutrition.gov.
Ingredients for Healthy Homemade Butterfingers
Essential Ingredients Overview
Creating healthy homemade Butterfingers is simpler than you might think! Here’s what you’ll need:
- Peanut Butter: Opt for natural peanut butter, free from added sugars and oils, to keep it nutritious.
- Maple Syrup or Honey: These will serve as sweeteners, so choose according to your taste preference!
- Protein Powder: This adds an extra nutritional boost. Consider a plant-based option for a vegan-friendly treat.
- Coconut Flour: This helps bind the mixture while adding fiber and healthy fats.
- Dark Chocolate: Select a high-quality dark chocolate with at least 70% cocoa to keep it healthy.
Substitutions for Dietary Needs
Don’t have all the ingredients? No problem! Here are some quick swaps:
- Substitute peanut butter with almond butter for nut allergies.
- Replace maple syrup with agave nectar for a lower glycemic index option.
- For a gluten-free version, ensure that your protein powder and coconut flour are certified gluten-free.
These adjustments ensure your healthy homemade Butterfingers fit your dietary needs while keeping flavor at the forefront! For more tips on ingredient substitutes, check out Healthline’s guide on healthy swaps.
Preparing Healthy Homemade Butterfingers
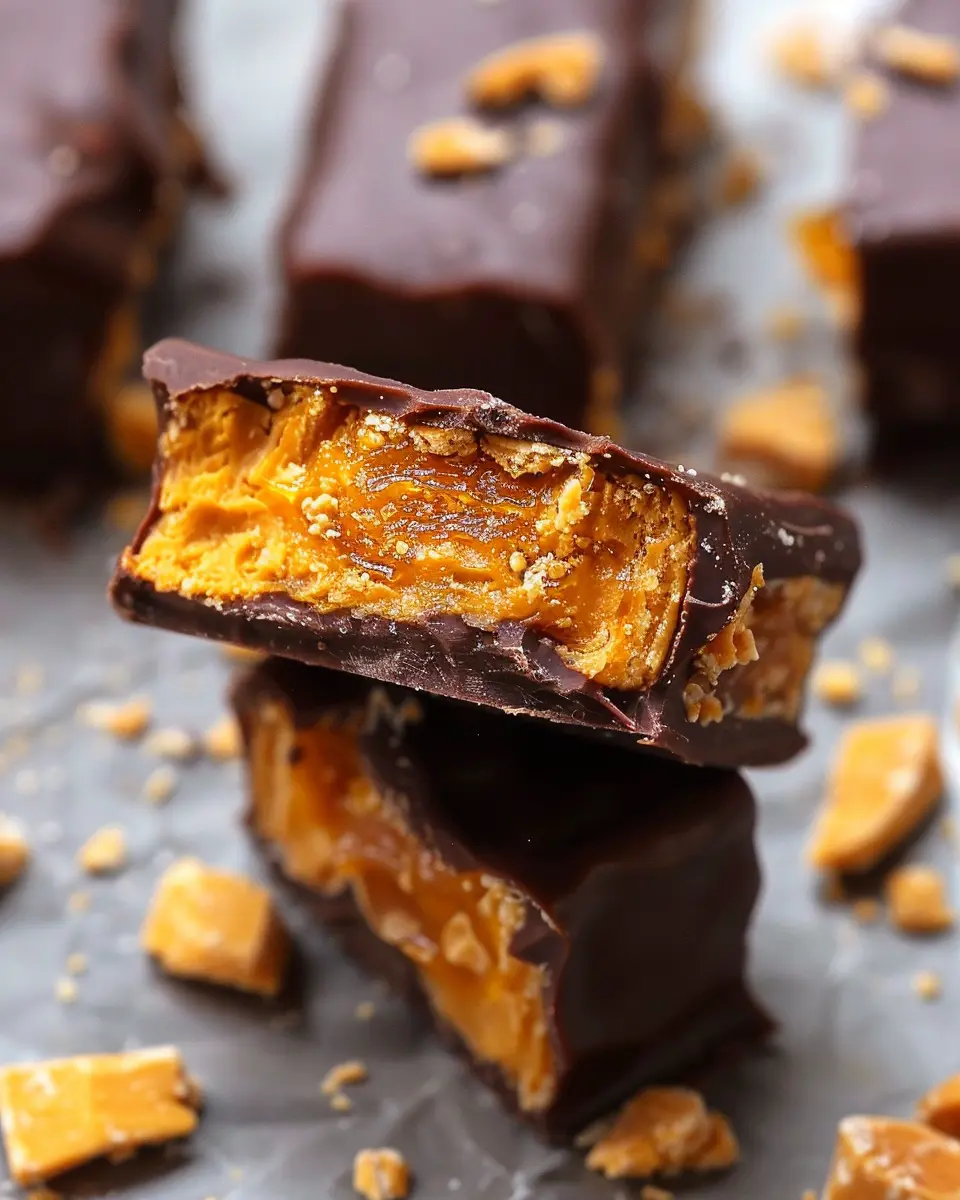
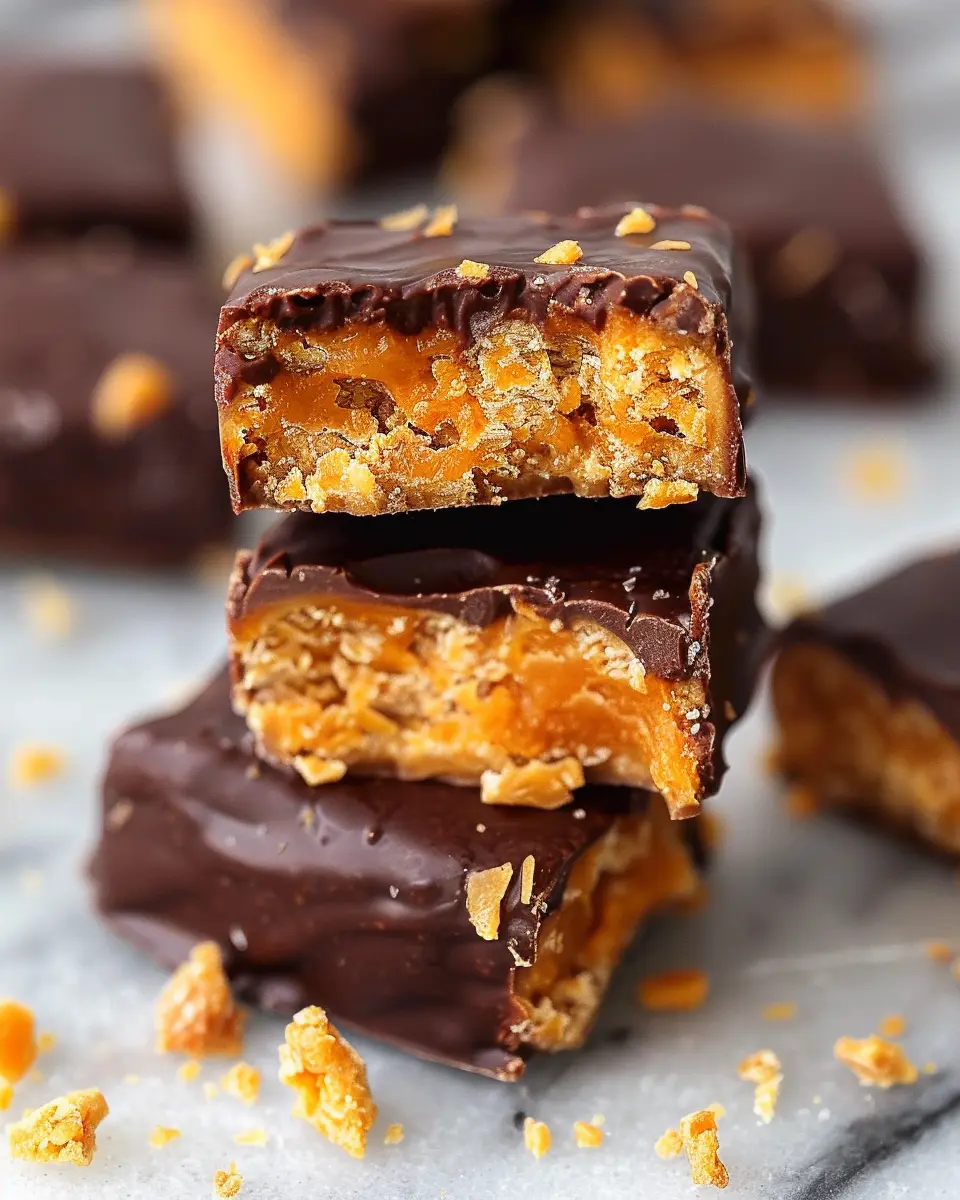
If you’ve ever craved that sweet, crunchy combination found in traditional Butterfinger bars, but want to embrace a healthier lifestyle, you’re in the right place. Healthy homemade Butterfingers are not just a delicious treat; they are also packed with better-for-you ingredients that satisfy your sweet tooth without the guilt. Let’s take a culinary journey through the process of making these delightful bars!
Gather Your Kitchen Tools
Before diving into the delicious world of healthy homemade Butterfingers, gather all necessary tools. This will streamline your cooking process and make it enjoyable. Here’s what you’ll need:
- A mixing bowl
- A potato masher or food processor
- A loaf pan (with parchment paper for easy removal)
- A double boiler or microwave-safe bowl for melting
- A spatula or spoon for mixing
- A sharp knife for cutting the bars
Having everything in place not only speeds up the cooking process but also minimizes mess. Have you ever tried making a recipe only to find you were missing something crucial? Let’s avoid that!
Crush the Cornflakes
Next, let’s get to the fun part: crushing the cornflakes! This provides the crunchy texture that mimics the original Butterfinger. You can use either a food processor for a fine consistency or a potato masher if you prefer a bit of workout while preparing your treat. Aim for a mixture that’s coarse but not dust. The crunchy bits create that beloved texture, so take your time and enjoy the process!
Mix the Base Ingredients
Now it’s time to combine your base ingredients. In a mixing bowl, combine:
- 1 cup of natural peanut butter
- 1 cup of honey or maple syrup (for a vegan option)
- 2 cups of crushed cornflakes
- A pinch of salt for flavor
The peanut butter acts as a binding agent and plays the star role in flavor, while the sweetness of honey elevates the taste. You might be surprised by how easily the mixture comes together! Just ensure everything is well mixed; this will make your healthy homemade Butterfingers even tastier.
Assemble the Mixture in the Loaf Pan
Once your mixture is ready, it’s time to pour it into your loaf pan. Spread it evenly, making sure to press down firmly. This will help the bars hold their shape after they’ve been frozen. It’s like creating a solid foundation for your masterpiece!
Cover the loaf pan with plastic wrap or foil and place it in the freezer. Let it chill for a couple of hours—this is a perfect time to binge-watch your favorite show or do a quick workout.
Freeze and Cut the Bars
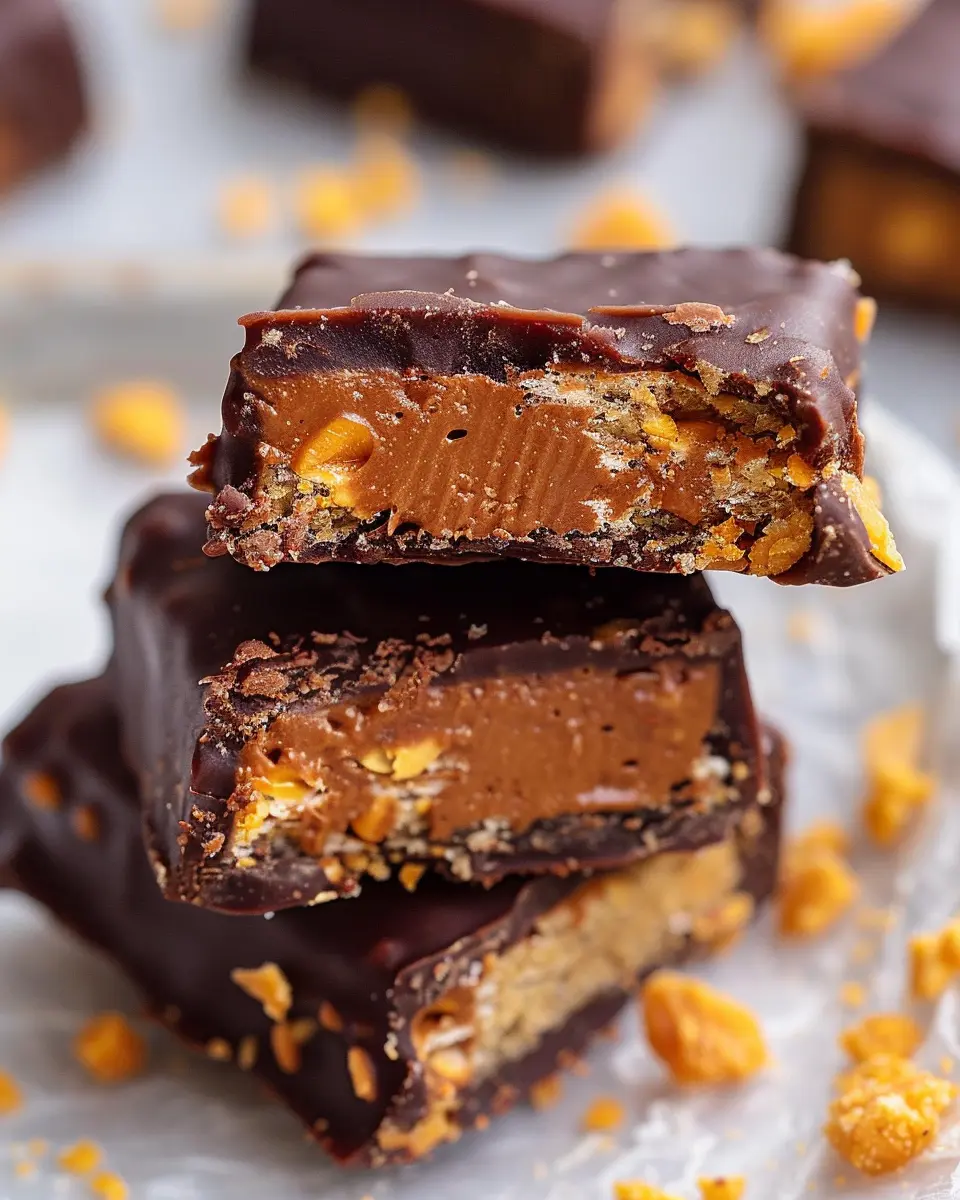
After your mixture has set and hardened, it’s time for the exciting part—cutting the bars! Remove the mixture from the freezer, and using a sharp knife, slice it into evenly sized bars. The size is all up to you, but keeping them about the size of traditional Butterfingers will help with portion control.
Create the Chocolate Coating
What’s a Butterfinger without that delicious chocolate coating? In the same double boiler or microwave, melt about 1 to 1.5 cups of dark chocolate chips. Stir occasionally until smooth. If you want to add a healthy twist, consider using dairy-free chocolate for a vegan option.
Dip and Store the Butterfingers
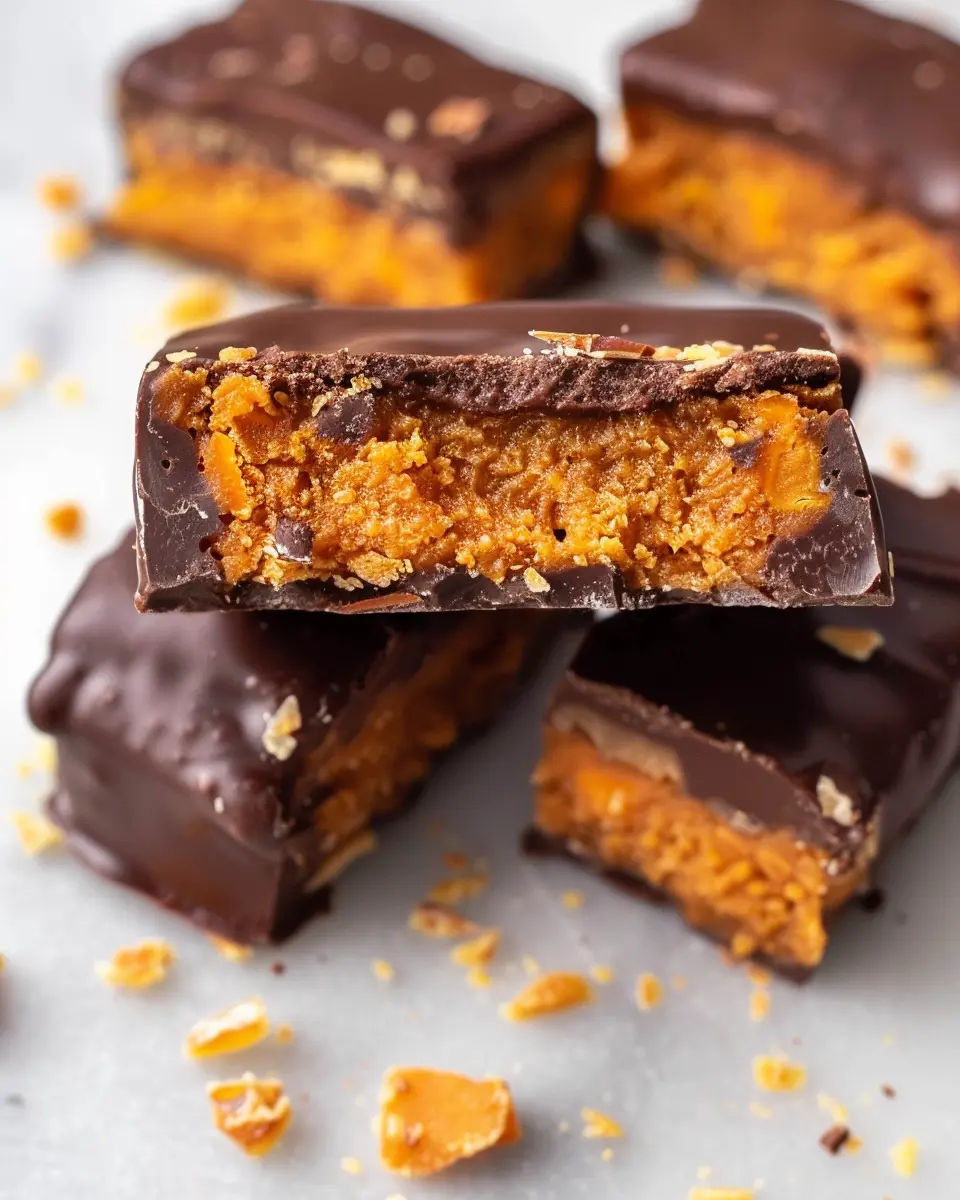
Finally, it’s time for the grand finale—dipping the bars in chocolate! Using a fork, dip each bar into the melted chocolate, ensuring it’s fully coated. Place them back on parchment paper to set.
Once the chocolate hardens, store your healthy homemade Butterfingers in an airtight container in the fridge. They’ll keep for about a week, though we bet they won’t last that long!
Incorporating these healthier treats into your lifestyle can be a game-changer. Not only do they satisfy your cravings, but they also provide a better nutritional profile compared to store-bought sugary snacks. So go ahead and indulge without the guilt! Have you tried making other healthy treats at home? Share your favorites in the comments!
Variations on Healthy Homemade Butterfingers
When it comes to healthy homemade Butterfingers, the possibilities are endless! You can easily tailor these delicious treats to suit your taste or dietary restrictions.
Peanut Butter Substitutes
While classic Butterfingers use peanut butter, don’t hesitate to explore alternatives. Here are some tasty options:
- Almond Butter: This nutty spread adds a different flavor profile and is packed with vitamin E.
- Sunflower Seed Butter: An excellent choice for those with nut allergies, sunflower butter provides a similar texture and a hint of sweetness.
- Cashew Butter: Creamy and slightly sweet, this can give your healthy homemade Butterfingers a unique twist.
Add-Ins for Extra Flavor
Why stick to the basic recipe? Elevate your healthy homemade Butterfingers with fun add-ins:
- Coconut Flakes: For a tropical vibe, sprinkle in unsweetened coconut flakes.
- Chia Seeds: Boost nutrition and add a little crunch without overwhelming the flavor.
- Spices: Cinnamon or a dash of sea salt can enhance the taste profile of your filling.
Customizing Your Chocolate Coating
The chocolate coating makes a huge difference in both flavor and aesthetics. Here’s how to make it uniquely yours:
- Dark Chocolate vs. Milk Chocolate: Dark chocolate is richer and offers health benefits, while milk chocolate is creamier and sweeter. Choose based on your preference.
- Vegan Chocolate: Opt for dairy-free chocolate chips to cater to vegan diets.
- Flavorful Additions: Melt some peppermint or orange extract into your chocolate to create a seasonal twist!
These variations allow you to enjoy your healthy homemade Butterfingers guilt-free while keeping things exciting. Have you tried any of these tips? Share your ideas!
Cooking notes for Healthy Homemade Butterfingers
Tips for achieving the perfect texture
To create delicious healthy homemade Butterfingers, focus on achieving that signature crispy-on-the-outside, creamy-on-the-inside texture. A great tip is to use finely crushed whole grain cereal or nut flour as your base; they give a delightful crunch. Also, ensure that your nut butter (like almond or peanut) is smooth; this helps in binding without making the mixture too oily.
Remember to chill your mixture well before melting any chocolate for coating—the colder the base, the firmer it will be when covered. This avoids any melting or mess!
Common pitfalls and how to avoid them
One common issue is creating a mixture that’s too dry or crumbly. If this happens, try adding a teaspoon of sweetener or a bit more nut butter to the mix. Conversely, if it feels too sticky, a bit more crushed cereal can help balance it out.
Always keep an eye on your chocolate melting process; using a double boiler or microwave in short bursts ensures no scorching! This will keep your healthy homemade Butterfingers perfectly blended and ready to impress.
For tips on healthy alternatives, check out Healthline for insights on ingredient substitutions!
Serving suggestions for Healthy Homemade Butterfingers
Creating healthy homemade Butterfingers is just the beginning of the fun! Here are some creative ways to indulge and amplify your snacking experience.
Creative ways to enjoy them
- Dessert Bars: Crumble your Butterfingers on yogurt or smoothie bowls for a delightful crunch.
- Ice Cream Topping: Chop them into bite-sized pieces and sprinkle them over your favorite dairy-free ice cream.
- Trail Mix Twist: Add them to a mix of nuts, seeds, and dried fruits for a satisfying on-the-go snack.
Pairing suggestions with drinks
What goes better with homemade Butterfingers than a delicious drink? Consider these pairings:
- Nut Milk: Almond or cashew milk complements the rich, nutty flavor of your Butterfingers.
- Herbal Teas: Try a calming chamomile or invigorating mint tea for a cozy afternoon treat.
- Fresh Juices: A refreshing orange or apple juice can provide a lovely contrast to the sweetness.
Experimenting with these suggestions will surely elevate your snacking experience. For more ideas, check out The Pioneer Woman’s snacking tips. Enjoy making these treats your own!
Time breakdown for Healthy Homemade Butterfingers
When craving a sweet treat, these healthy homemade Butterfingers are perfect, and knowing how long it takes to make them can really help with planning.
Preparation time
You’ll spend about 20 minutes preparing the ingredients and assembling the layers. That’s just enough time to get a little creative and maybe even turn on your favorite playlist!
Freezing time
Next, you’ll need to pop those delicious layers into the freezer for about 30 minutes. This step is crucial as it helps everything firm up, resulting in the ultimate texture.
Total time
Overall, you can whip up these healthy homemade Butterfingers in just about 50 minutes. Not bad for a delicious, guilt-free treat! Whether you’re snacking alone or sharing with friends, these will surely impress.
If you want to explore other healthy treats, check out this article about nutritious snacks for more ideas!
Nutritional Facts for Healthy Homemade Butterfingers
Calories
When you whip up a batch of healthy homemade Butterfingers, you’re looking at approximately 150 calories per serving. That’s a win for those of us mindful of our daily intake!
Nutritional Breakdown
- Fat: 8 grams (mainly from nut butter)
- Carbs: 15 grams (on the healthier side, thanks to natural sweeteners)
- Protein: 5 grams (from nut butter and protein powder)
This guilt-free treat is a great way to satisfy your sweet tooth while still being nutritious.
Health Benefits of Key Ingredients
The ingredients in your healthy homemade Butterfingers are not just tasty—they’re beneficial too! For instance:
- Nut Butter: Packed with healthy fats, nut butter supports heart health and provides sustained energy.
- Dark Chocolate: Rich in antioxidants, it can improve heart health and elevate mood.
- Natural Sweeteners: Using honey or maple syrup instead of refined sugar helps regulate blood sugar levels and adds essential nutrients.
So, next time you crave something sweet, you can indulge in these delicious treats without the guilt! If you’re curious about more health benefits related to nut butter, check Healthline for in-depth information.
FAQs about Healthy Homemade Butterfingers
Can I make these nut-free?
Absolutely! If you’re looking to whip up some healthy homemade Butterfingers without nuts, you can replace the peanut butter with sunflower seed butter or soy nut butter. These alternatives maintain that creamy texture and rich flavor without the allergens. Just be sure to check the labels to confirm that they are indeed nut-free, especially if cooking for someone with severe allergies.
How long do homemade Butterfingers last?
Once your healthy homemade Butterfingers are fully set, you can store them in an airtight container at room temperature. They typically stay good for about 1 week. If you want to savor them for a longer period, consider refrigerating them, which can extend their shelf life to 2-3 weeks. You can also freeze them for up to 3 months—just let them thaw in the fridge when you’re ready to indulge.
Are there vegan alternatives for the chocolate coating?
Certainly! For a vegan twist on your healthy homemade Butterfingers, try using dairy-free dark chocolate. Brands like Enjoy Life or Hu Chocolate offer delicious options that melt beautifully. Alternatively, you can create a chocolate coating using cocoa powder, coconut oil, and maple syrup for a quick and easy melt-in-your-mouth experience. This way, you can enjoy a treat that fits your dietary needs while still tasting decadent.
Feel free to add your own creative flair, experimenting with flavors and textures. If you ever have questions or need further inspiration, countless resources are available online, such as the American Heart Association for health tips or the Academy of Nutrition and Dietetics for delightful ingredient substitutions. Happy baking!
Conclusion on Healthy Homemade Butterfingers
Recap of benefits and ease
Making healthy homemade Butterfingers not only satisfies your sweet tooth but also comes with a host of benefits. You get to enjoy a delicious treat without the guilt, using wholesome ingredients that are much better for your body. The steps are straightforward, making it accessible even for kitchen novices. Plus, experimenting with nut butters or sweeteners allows you to customize flavors to suit your preferences.
Encouragement to try the recipe and share your experience
I encourage you to give this recipe a go! Once you make your batch of healthy homemade Butterfingers, consider sharing your experience on social media or with friends. Did you add a twist with coconut, or maybe play around with different nut butters? Your insights can inspire others. So grab those ingredients, embrace your creativity, and revel in the joy of making something truly delicious!
PrintHealthy Homemade Butterfingers: A Guilt-Free Indulgence for All
Enjoy the delicious taste of Butterfingers without the guilt! These Healthy Homemade Butterfingers are easy to make and perfect for a sweet treat.
- Prep Time: 20 minutes
- Cook Time: 0 minutes
- Total Time: 2 hours 20 minutes
- Yield: 16 bars 1x
- Category: Dessert
- Method: No-Bake
- Cuisine: American
- Diet: Gluten-Free
Ingredients
- 1 cup almond butter
- 1/2 cup honey or maple syrup
- 1 teaspoon vanilla extract
- 1/4 teaspoon sea salt
- 2 cups crushed corn flakes
- 1 cup dark chocolate chips
- 1 tablespoon coconut oil
Instructions
- In a mixing bowl, combine almond butter, honey (or maple syrup), vanilla extract, and sea salt until smooth.
- Fold in the crushed corn flakes until well-coated.
- Line a baking dish with parchment paper and press the mixture evenly into the dish.
- Melt dark chocolate chips with coconut oil in a microwave or double boiler until smooth.
- Pour melted chocolate over the cornflake mixture and spread evenly.
- Refrigerate for at least 2 hours or until firm. Cut into bars and enjoy!
Notes
- For a crunchier texture, try adding chopped nuts or seeds.
- Store in an airtight container in the fridge for up to one week.
Nutrition
- Serving Size: 1 bar
- Calories: 150
- Sugar: 10g
- Sodium: 50mg
- Fat: 8g
- Saturated Fat: 3g
- Unsaturated Fat: 5g
- Trans Fat: 0g
- Carbohydrates: 20g
- Fiber: 2g
- Protein: 4g
- Cholesterol: 0mg
Keywords: Healthy Homemade Butterfingers