
Introduction to No-Oven Turkish Bread
What is No-Oven Turkish Bread?
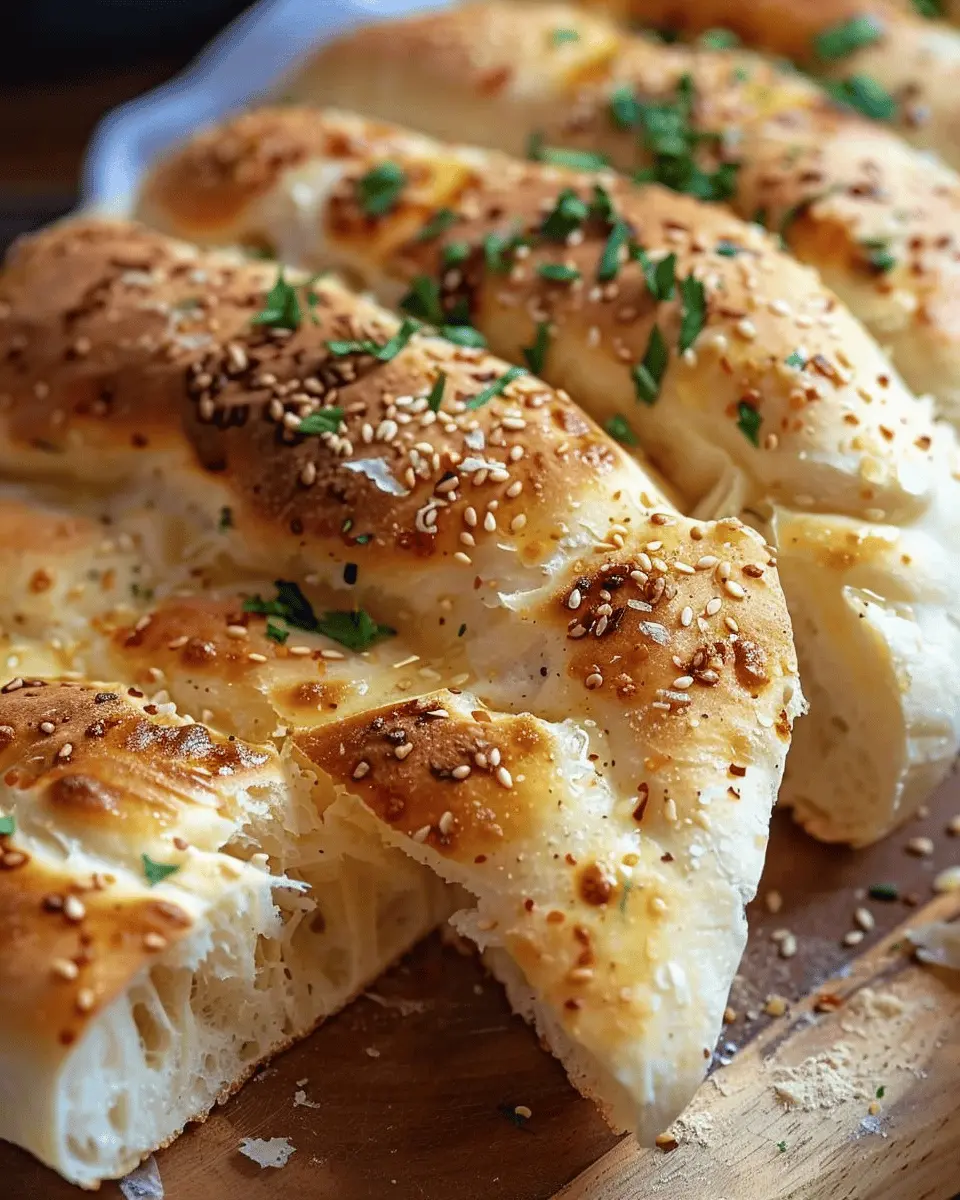
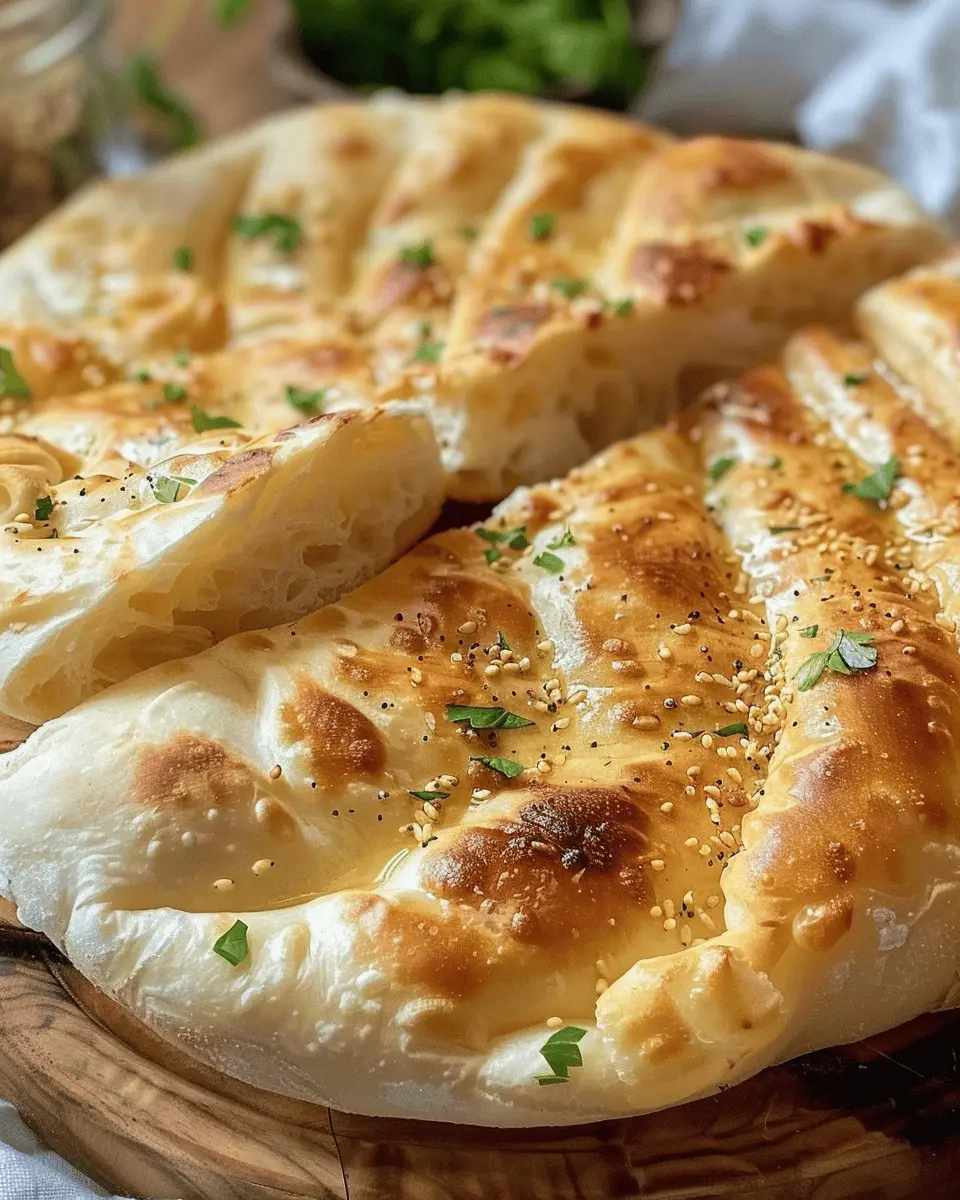
No-oven Turkish bread is a delightful twist on the traditional flatbreads of Turkey, made without the need for an oven—perfect for anyone living in a tiny apartment or without access to fancy kitchen gadgets. This bread is soft, airy, and can easily be cooked on the stovetop or even in a skillet. Typically flaky and delicious, it pairs beautifully with a variety of dishes, from hummus to your favorite soups, or even as a wrap for sandwiches featuring Turkey Bacon or Chicken Ham.
Why Homemade Bread is Better Than Store-Bought
Let’s be honest, nothing quite compares to the aroma of freshly baked bread wafting through your kitchen. When you make no-oven Turkish bread at home, you’re not just creating a meal; you’re crafting an experience. Here are some reasons why homemade bread outshines store-bought options:
- Quality Control: You get to choose exactly what goes into your bread, avoiding preservatives and additives often found in packaged varieties.
- Cost-Effective: Making your own bread can save you money in the long run. A few basic ingredients can yield plenty of delicious bread.
- Creative Freedom: Want to sprinkle in some herbs or add a dash of spices? Go for it! Homemade bread allows you to play around with flavors.
A Personal Story About Making Turkish Bread at Home
I remember the first time I decided to try making no-oven Turkish bread. I was craving something warm and fluffy to complement my evening meal. Armed with a simple recipe I found online, I ventured into my small kitchen, mixing flour, water, and a touch of yeast. The dough came together beautifully, and as I rolled it out and placed it on the stovetop, I felt a wave of excitement wash over me.
In just minutes, I had what turned out to be the best flatbreads I had ever tasted! They were soft and delightful, and paired perfectly with the spicy lentil soup I had made. That as I realized, homemade delivers not just sustenance but also a memorable experience.
If you’re ready to dive into the world of no-oven Turkish bread, gather your ingredients, and let’s bake something special together! For more details on how to make this incredible dish, check out important resources like Serious Eats for tips.
Ingredients for No-Oven Turkish Bread
Essential ingredients you need
To create a delicious no-oven Turkish bread, you’ll need a handful of quality ingredients. Here’s what you shouldn’t skip:
- All-purpose flour: This is the foundation of your bread, giving it that delightful texture.
- Yeast: Active or instant yeast will help your bread rise beautifully.
- Salt: A crucial element that enhances flavor and regulates yeast activity.
- Sugar: Just a teaspoon to boost yeast growth and add a hint of sweetness.
- Warm water: Essential for activating the yeast and bringing your dough together.
- Olive oil: Adds richness and helps achieve that soft, golden crust.
- Optional toppings: Consider sesame seeds or za’atar for an added crunch and flavor.
Why quality ingredients matter
Using quality ingredients is key to the taste and texture of your no-oven Turkish bread. For instance, organic flour often has a higher nutritional profile and fresher taste than regular varieties. Furthermore, fresh yeast will activate more effectively, ensuring that your loaf rises adequately.
Did you know that the right balance of salt not only flavors your bread but also regulates yeast fermentation? That’s why opting for high-quality sea salt can make a noticeable difference! For further insights, you might want to check resources like King Arthur Baking or Food52 for baking tips that enhance your bread-making skills.
Investing in good ingredients elevates your no-oven Turkish bread from good to exceptional. What do you think—are you ready to elevate your baking game?
Step-by-Step Preparation of No-Oven Turkish Bread
Creating your own no-oven Turkish bread can be an incredibly satisfying endeavor. This versatile bread makes for perfect sandwiches or alongside your favorite dips. Let’s walk through the steps together to make this delightful recipe.
Gather your ingredients
Before diving into the preparation, it’s crucial to gather all the necessary ingredients. You’ll need:
- 3 cups all-purpose flour
- 1 package (2 ¼ tsp) active dry yeast
- 1 tsp sugar
- 1 tsp salt
- 1 cup warm water (not hot!)
- ¼ cup olive oil or melted butter
- Optional: sesame seeds or nigella seeds for topping
Having everything in one place not only makes the process smoother but also keeps the kitchen chaos to a minimum. Plus, it’s so much more fun to see all your ingredients laid out!
Mixing warm liquids and yeast
Now that you have everything ready, let’s activate the yeast. In a small bowl, combine the warm water with the sugar and yeast. Stir gently and let it sit for about 5-10 minutes until it’s frothy. This step is essential because it shows that your yeast is alive and ready to work its magic in your no-oven Turkish bread.
Why not snag a few tips from reliable sources like The Kitchn on yeast activation? It’s always helpful to have expert advice as a reference!
Combining flour and other ingredients
While the yeast does its thing, it’s time to work on the dry ingredients. In a large mixing bowl, combine the all-purpose flour and salt. Once the yeast mixture is bubbly and activated, make a well in the center of the flour mixture and pour in the yeast mixture along with the olive oil or melted butter.
Use a wooden spoon to stir until everything is combined. You want a shaggy dough that just holds together. It’s okay if it’s a little sticky!
Kneading the dough
Transfer the dough onto a lightly floured surface and knead it for about 5-7 minutes. Don’t rush this step; kneading helps develop the gluten and gives your bread that desired texture. You want the dough to be smooth and elastic.
If you have a stand mixer with a dough hook, feel free to use that instead. Just keep an eye on your dough—it should pull away from the sides of the bowl.
Letting the dough rise
After kneading, place the dough in a lightly greased bowl, cover it with a damp cloth or plastic wrap, and let it rise in a warm area. This typically takes about 1-2 hours until it doubles in size. If you’ve got a sunny spot in your kitchen, that’s a perfect spot for your dough!
Shaping the dough into rounds
Once your dough has risen, punch it down gently and transfer it back to your floured surface. Divide the dough into about 8 equal portions. Shape each portion into a round ball. Don’t worry if they’re not perfectly neat; the rustic look adds to their charm!
Preparing the pan for cooking
Now it’s time to prepare your cooking surface. You can use a non-stick skillet or griddle; both work beautifully for no-oven Turkish bread. Heat the pan over medium heat and lightly grease it with oil.
Cooking the bread on the stove
Place your dough rounds on the hot pan, leaving enough space in between for them to puff up. Cook for about 3-4 minutes on each side or until they’re golden brown and slightly puffed. Keep an eye on the temperature; you want them to cook through without burning.
Final touches and serving suggestions
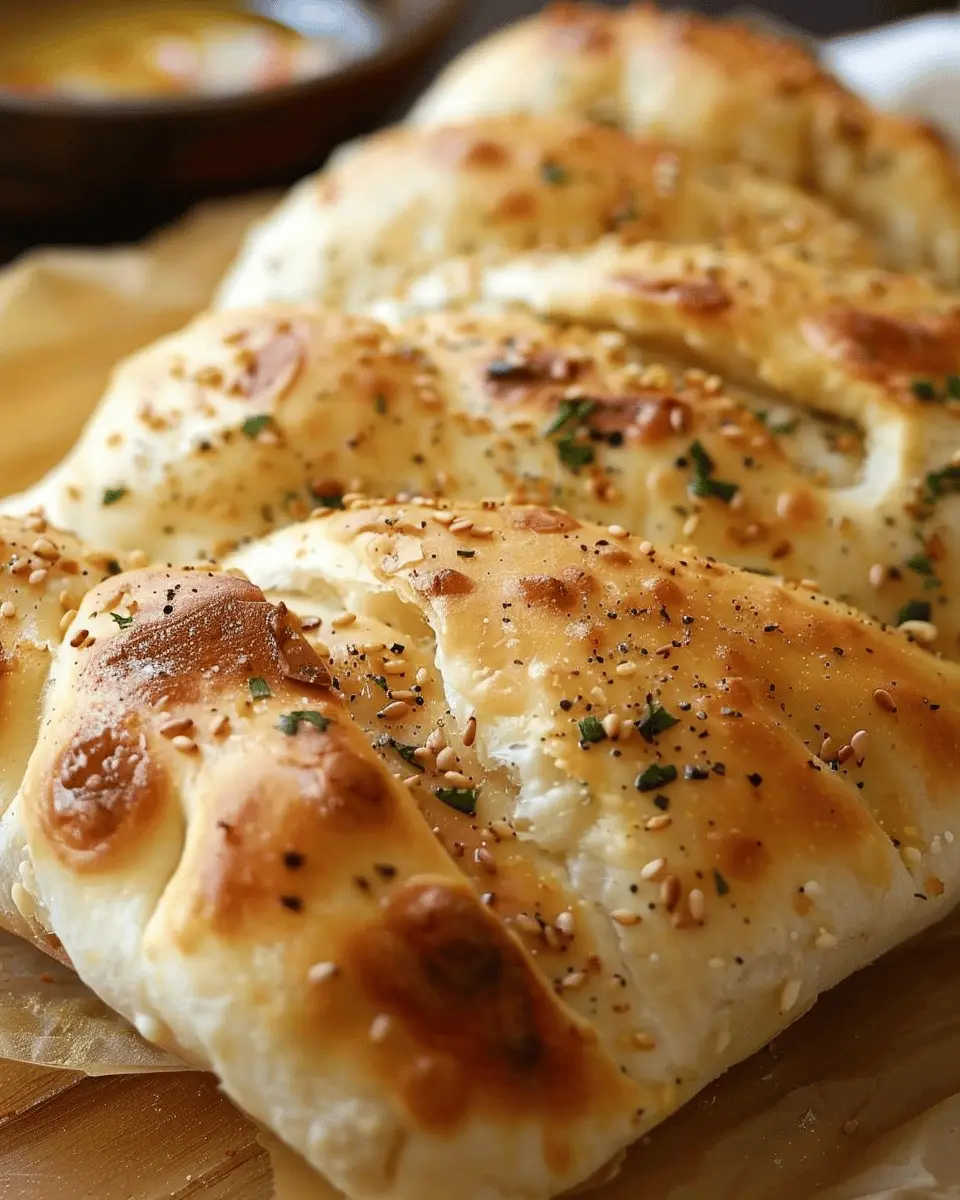
As your bread cooks, you can sprinkle on sesame or nigella seeds for an extra crunch. Serve your no-oven Turkish bread warm, slathered with butter, or alongside dips like hummus or tzatziki.
Feel free to experiment with fillings too—sliced Turkey bacon or chicken ham could elevate your bread to new levels. There you have it—your delightful and aromatic no-oven Turkish bread is ready to be enjoyed!
Variations on No-Oven Turkish Bread
Creating no-oven Turkish bread is a delightful experience, but why stop at the basics? Below, I’ll share some creative variations to elevate your bread game.
Adding Spices for Extra Flavor
One of the simplest ways to enhance your no-oven Turkish bread is by incorporating spices. A classic option is to add a teaspoon of ground cumin or coriander into the dough. Not only do these spices bring warmth, but they also make every bite unforgettable. For a spice kick, try red pepper flakes or sumac, giving your bread a vibrant flavor profile. Want a hint of sweetness? A sprinkle of cinnamon adds a fascinating twist.
Making a Stuffed Version
Imagine tearing into a warm, fluffy bread filled with savory delights! You can easily make a stuffed version of no-oven Turkish bread. Before shaping your dough, add fillings like sautéed vegetables, Turkey bacon, or even Chicken ham and cheese. Ensure the filling is cool so it doesn’t affect the dough’s elasticity. Once stuffed, simply seal the edges well and shape them into rounds or ovals. You’re looking at a delicious fusion of textures and flavors—all without turning on your oven!
Gluten-Free Adaptations
If gluten is a concern, fret not! No-oven Turkish bread can easily be made gluten-free. Substitute all-purpose flour with a gluten-free blend, or try almond flour for a nutty flavor. Just remember to adjust the liquid—butters or yogurt might help achieve the right consistency. For further recipe ideas, check out specialized gluten-free cooking resources that can guide your adaptations.
Get creative with these variations, and enjoy making your own unique versions of no-oven Turkish bread!
Cooking Tips and Notes for No-Oven Turkish Bread
Common Pitfalls to Avoid
Making no-oven Turkish bread can be a delightful experience, but it’s essential to avoid some common mistakes for the best results. First, be careful not to over-knead the dough; this can lead to a tough texture rather than the desired airy fluffiness. A gentle hand is key! Additionally, ensure your pan is properly preheated before adding the dough; this promotes a beautiful rise and a crispy bottom. Finally, resist the urge to open the pan lid too frequently while cooking, as this can disrupt the baking process.
How to Store Leftover Bread
If you find yourself with leftover no-oven Turkish bread, it’s crucial to store it correctly to maintain that delightful freshness. Allow the bread to cool completely before wrapping it in plastic wrap or placing it in an airtight container. For longer storage, consider keeping it in the freezer; just make sure to slice it beforehand for quick access. When you’re ready to enjoy, simply thaw at room temperature or warm it up in a skillet for a few minutes. For more storage tips, check out resources like the USDA’s food storage guidelines.
With these tips, you’re well on your way to mastering your no-oven Turkish bread. Happy baking!
Serving Suggestions for No-Oven Turkish Bread
Best dips and spreads to pair with the bread
When it comes to enjoying no-oven Turkish bread, the right dips and spreads can elevate your experience. Consider pairing your bread with:
- Hummus: Classic or flavored, it adds a creamy texture that complements the bread’s soft interior.
- Tzatziki: This cool yogurt and cucumber dip brings a refreshing contrast, perfect for warm weather.
- Baba Ganoush: The smoky flavor of roasted eggplant creates a unique taste sensation that pairs beautifully.
These dips can turn a simple snack into a delightful platter that friends will rave about.
Creative ways to use Turkish bread in meals
Looking to get creative? No-oven Turkish bread is incredibly versatile. Here are a few fun ideas:
- Sandwiches: Layer it up with juicy turkey bacon, roasted veggies, and fresh greens for a hearty meal.
- Wraps: Use it as a wrap for grilled chicken ham, lettuce, and avocado for a quick lunch on the go.
- Pizzas: Top it with sauce, cheese, and your favorite toppings, and broil in your stove for a quick and satisfying pizza night.
By incorporating your no-oven Turkish bread into these meals, you can make every dining experience exciting and delicious. For more inspiration, check out this article that offers fantastic ideas on Mediterranean cuisine.
Time Breakdown for No-Oven Turkish Bread
Preparation time
Making no-oven Turkish bread is a breeze! You’ll need about 15 minutes to gather your ingredients and mix up the dough. This quick prep gives you time to get everything ready while your favorite music plays in the background.
Cooking time
Once your dough is prepared, you’ll spend approximately 10 minutes cooking it in a skillet. This is where the magic happens—watch it rise and turn golden brown!
Total time
In just 25 minutes, start to finish, you can enjoy fresh, homemade no-oven Turkish bread. It’s a perfect complement to soups, stews, or as a base for a delicious sandwich! For more information on cooking times and tips, check out BBC Good Food or Serious Eats.
Nutritional Facts for No-Oven Turkish Bread
Calories per serving
When you whip up a delightful batch of no-oven Turkish bread, each serving typically contains around 150 calories. This makes it a great option whether you’re having it as a snack or alongside your favorite meal. Plus, it’s light enough to enjoy without going overboard on your calorie intake!
Key nutrients found in the bread
This bread isn’t just tasty; it’s also packed with essential nutrients:
- Carbohydrates: A primary energy source, helping fuel your everyday activities.
- Protein: While not extremely high, the protein content supports muscle repair and growth.
- Fiber: Great for digestive health, keeping you feeling full and satisfied longer.
- B Vitamins: These play a crucial role in energy metabolism and brain health.
Incorporating no-oven Turkish bread into your diet can complement a balanced lifestyle. For more insights on bread’s nutritional benefits, consult sources like the USDA FoodData Central for detailed analyses. And remember, each ingredient in your bread adds to its health profile, contributing to a wholesome eating experience!
FAQs About No-Oven Turkish Bread
When it comes to making no-oven Turkish bread, you might have a few burning questions. Let’s explore some common ones to help you conquer any concerns!
Can I freeze No-Oven Turkish Bread?
Absolutely! Freezing your no-oven Turkish bread is a fantastic way to enjoy it later. Once it’s cooled completely, wrap it tightly in plastic wrap or aluminum foil before placing it in an airtight container. It can last up to three months in the freezer. When you’re ready to enjoy it again, simply thaw it at room temperature or heat it briefly in a skillet.
Can I use different types of flour?
Yes, you can experiment with different types of flour to suit your taste or dietary needs. While all-purpose flour is a good base, you could try whole wheat flour for a heartier flavor or even gluten-free options like almond or oat flour. Just keep in mind that different flours may affect the texture and flavor of your no-oven Turkish bread.
What should I do if my bread doesn’t rise?
If your bread doesn’t rise as expected, don’t panic! This could be due to a few reasons, such as expired yeast or not letting the dough rest long enough. Ensure that your yeast is fresh – a quick test is to mix it with warm water and a pinch of sugar; it should bubble up within a few minutes. Also, giving your dough enough time to proof is key!
Whether you’re a novice or a pro, making no-oven Turkish bread can be a delightful experience. If you run into any more questions, feel free to consult resources like King Arthur Baking or Food Network for tips and tricks!
Conclusion on No-Oven Turkish Bread
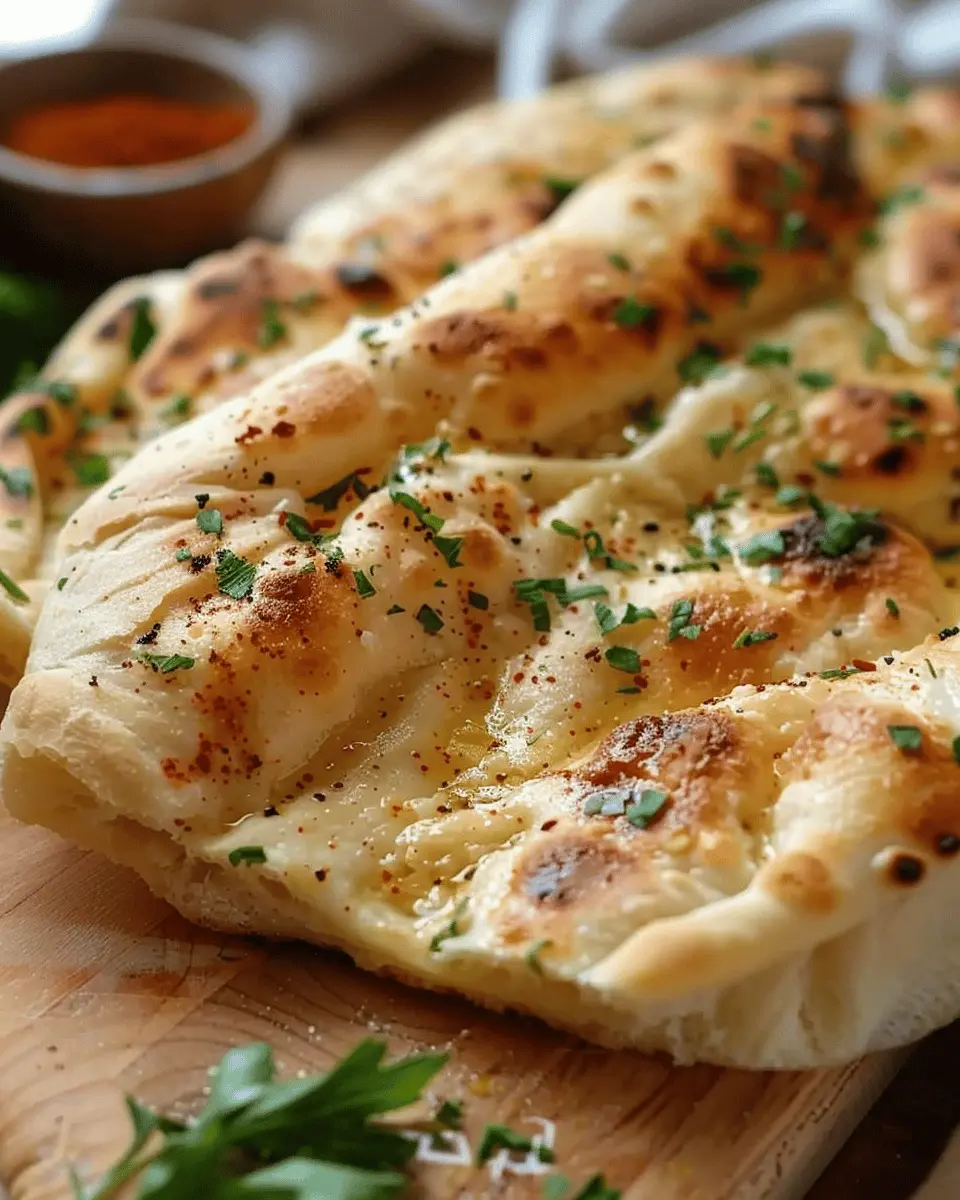
Homemade bread can bring immense joy, and this no-oven Turkish bread is no exception! It’s a delightful experience to watch your dough transform into a beautiful loaf, releasing tantalizing aromas throughout your kitchen. The satisfaction of breaking bread with loved ones is a feeling like no other.
Have you tried making this no-oven Turkish bread? We’d love to hear your stories and any tips you might have picked up along the way. Share your baking journey in the comments below or connect with us on social media! Remember, each loaf is a step toward perfecting your baking skills. Check out more about bread making techniques from Serious Eats. Happy baking!
PrintNo-Oven Turkish Bread: Easy Recipe for Fresh Homemade Flavor

Discover how to make delicious Turkish bread without the need for an oven, perfect for enjoying fresh homemade flavor!
- Prep Time: 15 minutes
- Cook Time: 20 minutes
- Total Time: 35 minutes
- Yield: 6 servings 1x
- Category: Bread
- Method: Stovetop
- Cuisine: Turkish
- Diet: Vegetarian
Ingredients
- 3 cups all-purpose flour
- 1 cup water
- 1 tablespoon sugar
- 2 teaspoons salt
- 2 teaspoons active dry yeast
- 1 tablespoon olive oil
Instructions
- In a bowl, mix the flour, sugar, salt, and yeast together.
- Add water and olive oil, knead the dough until smooth.
- Let the dough rise for 30 minutes.
- Shape the dough into rounds and let rest for another 15 minutes.
- Cook the bread on a skillet over medium heat until golden brown on both sides.
Notes
- For a deeper flavor, consider adding herbs to the dough.
- Use a non-stick skillet to prevent the bread from sticking.
Nutrition
- Serving Size: 1 piece
- Calories: 150
- Sugar: 1g
- Sodium: 200mg
- Fat: 5g
- Saturated Fat: 1g
- Unsaturated Fat: 3g
- Trans Fat: 0g
- Carbohydrates: 23g
- Fiber: 1g
- Protein: 4g
- Cholesterol: 0mg
Keywords: No-Oven Turkish Bread, homemade bread, easy bread recipe